IP Reputation Monitoring
The IP Reputation Monitoring tool helps you monitor whether your IP has been blocked by any major DNS-based Block Lists (RBLs). The tool conducts regular checks against prominent blocklist providers and records any changes directly in your control panel. This guide will walk you through adding IPs, configuring settings, and monitoring results.
Adding IPs for Reputation Monitoring
Go to Settings → Add IP’s

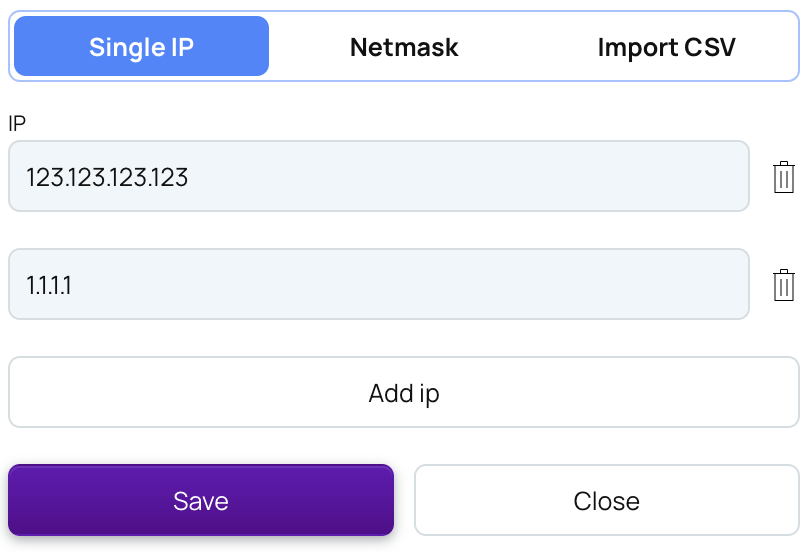
There are 3 options available:
Adding IP’s one by one
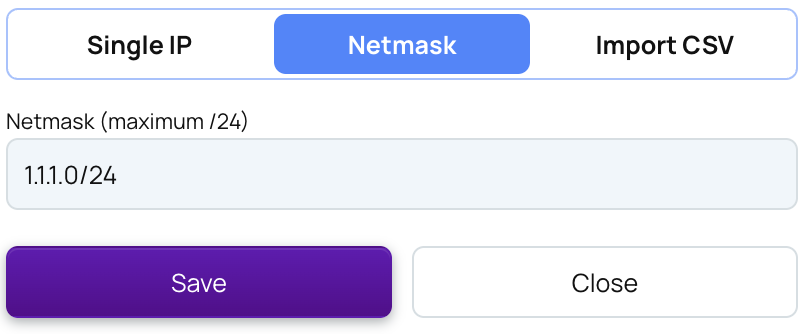
Adding Netmask (up to /24)
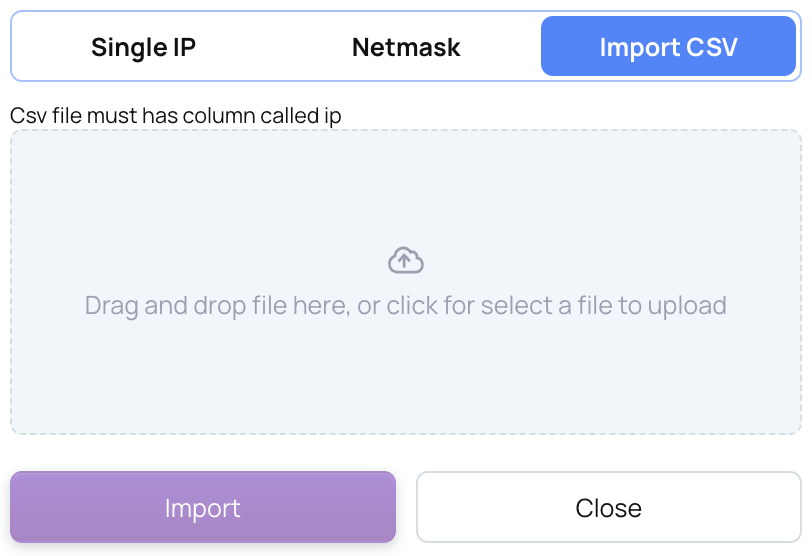
Importing a CSV file
Once you’ve added the IP’s EmailConsul starts checking it right away and then every 24 hours. Additionally, you can manually initiate the checking process for any IP by clicking the Update button in the IP list table.

Configure RBL list
To include or exclude specific RBL from the monitoring:
Click on Settings → Blocklist settings

Check / uncheck desired RBL’s from the list and click Save
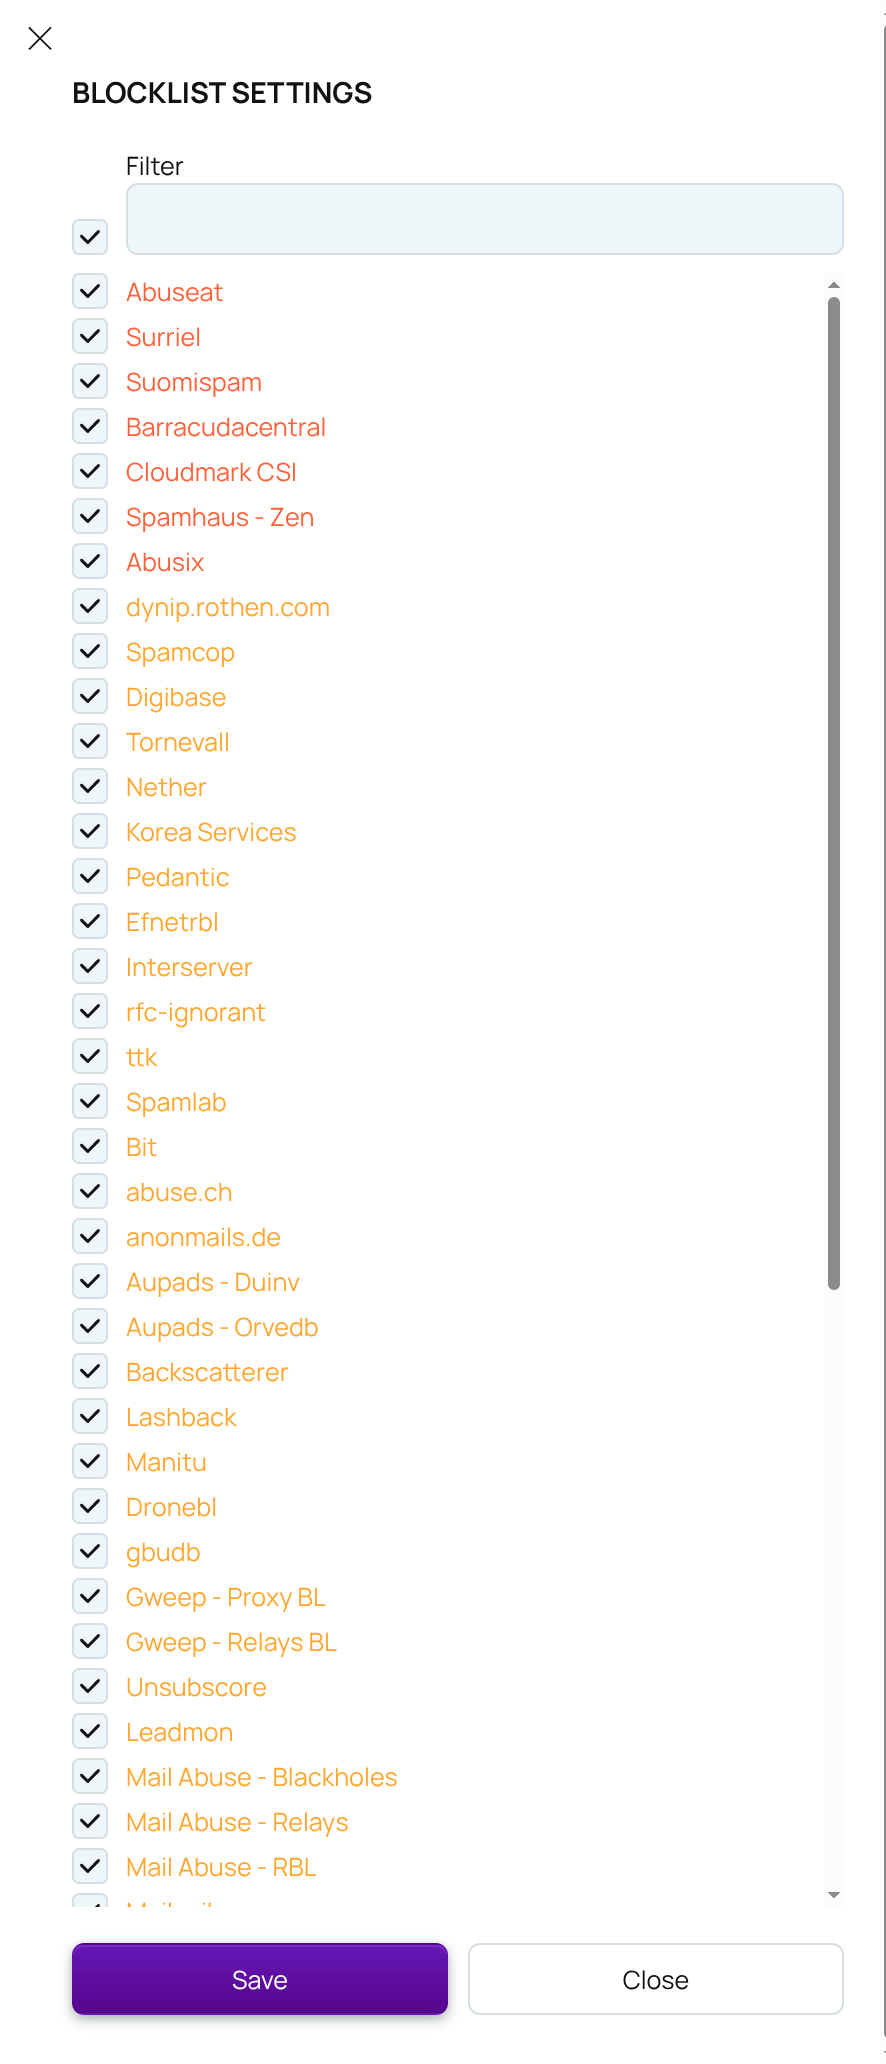
You can change these settings anytime.
Viewing results
Each DNSBL block/unblock has been recorded by our system, and the block/unblock time is easily visible. To view the data, simply click on the row in the IP table.

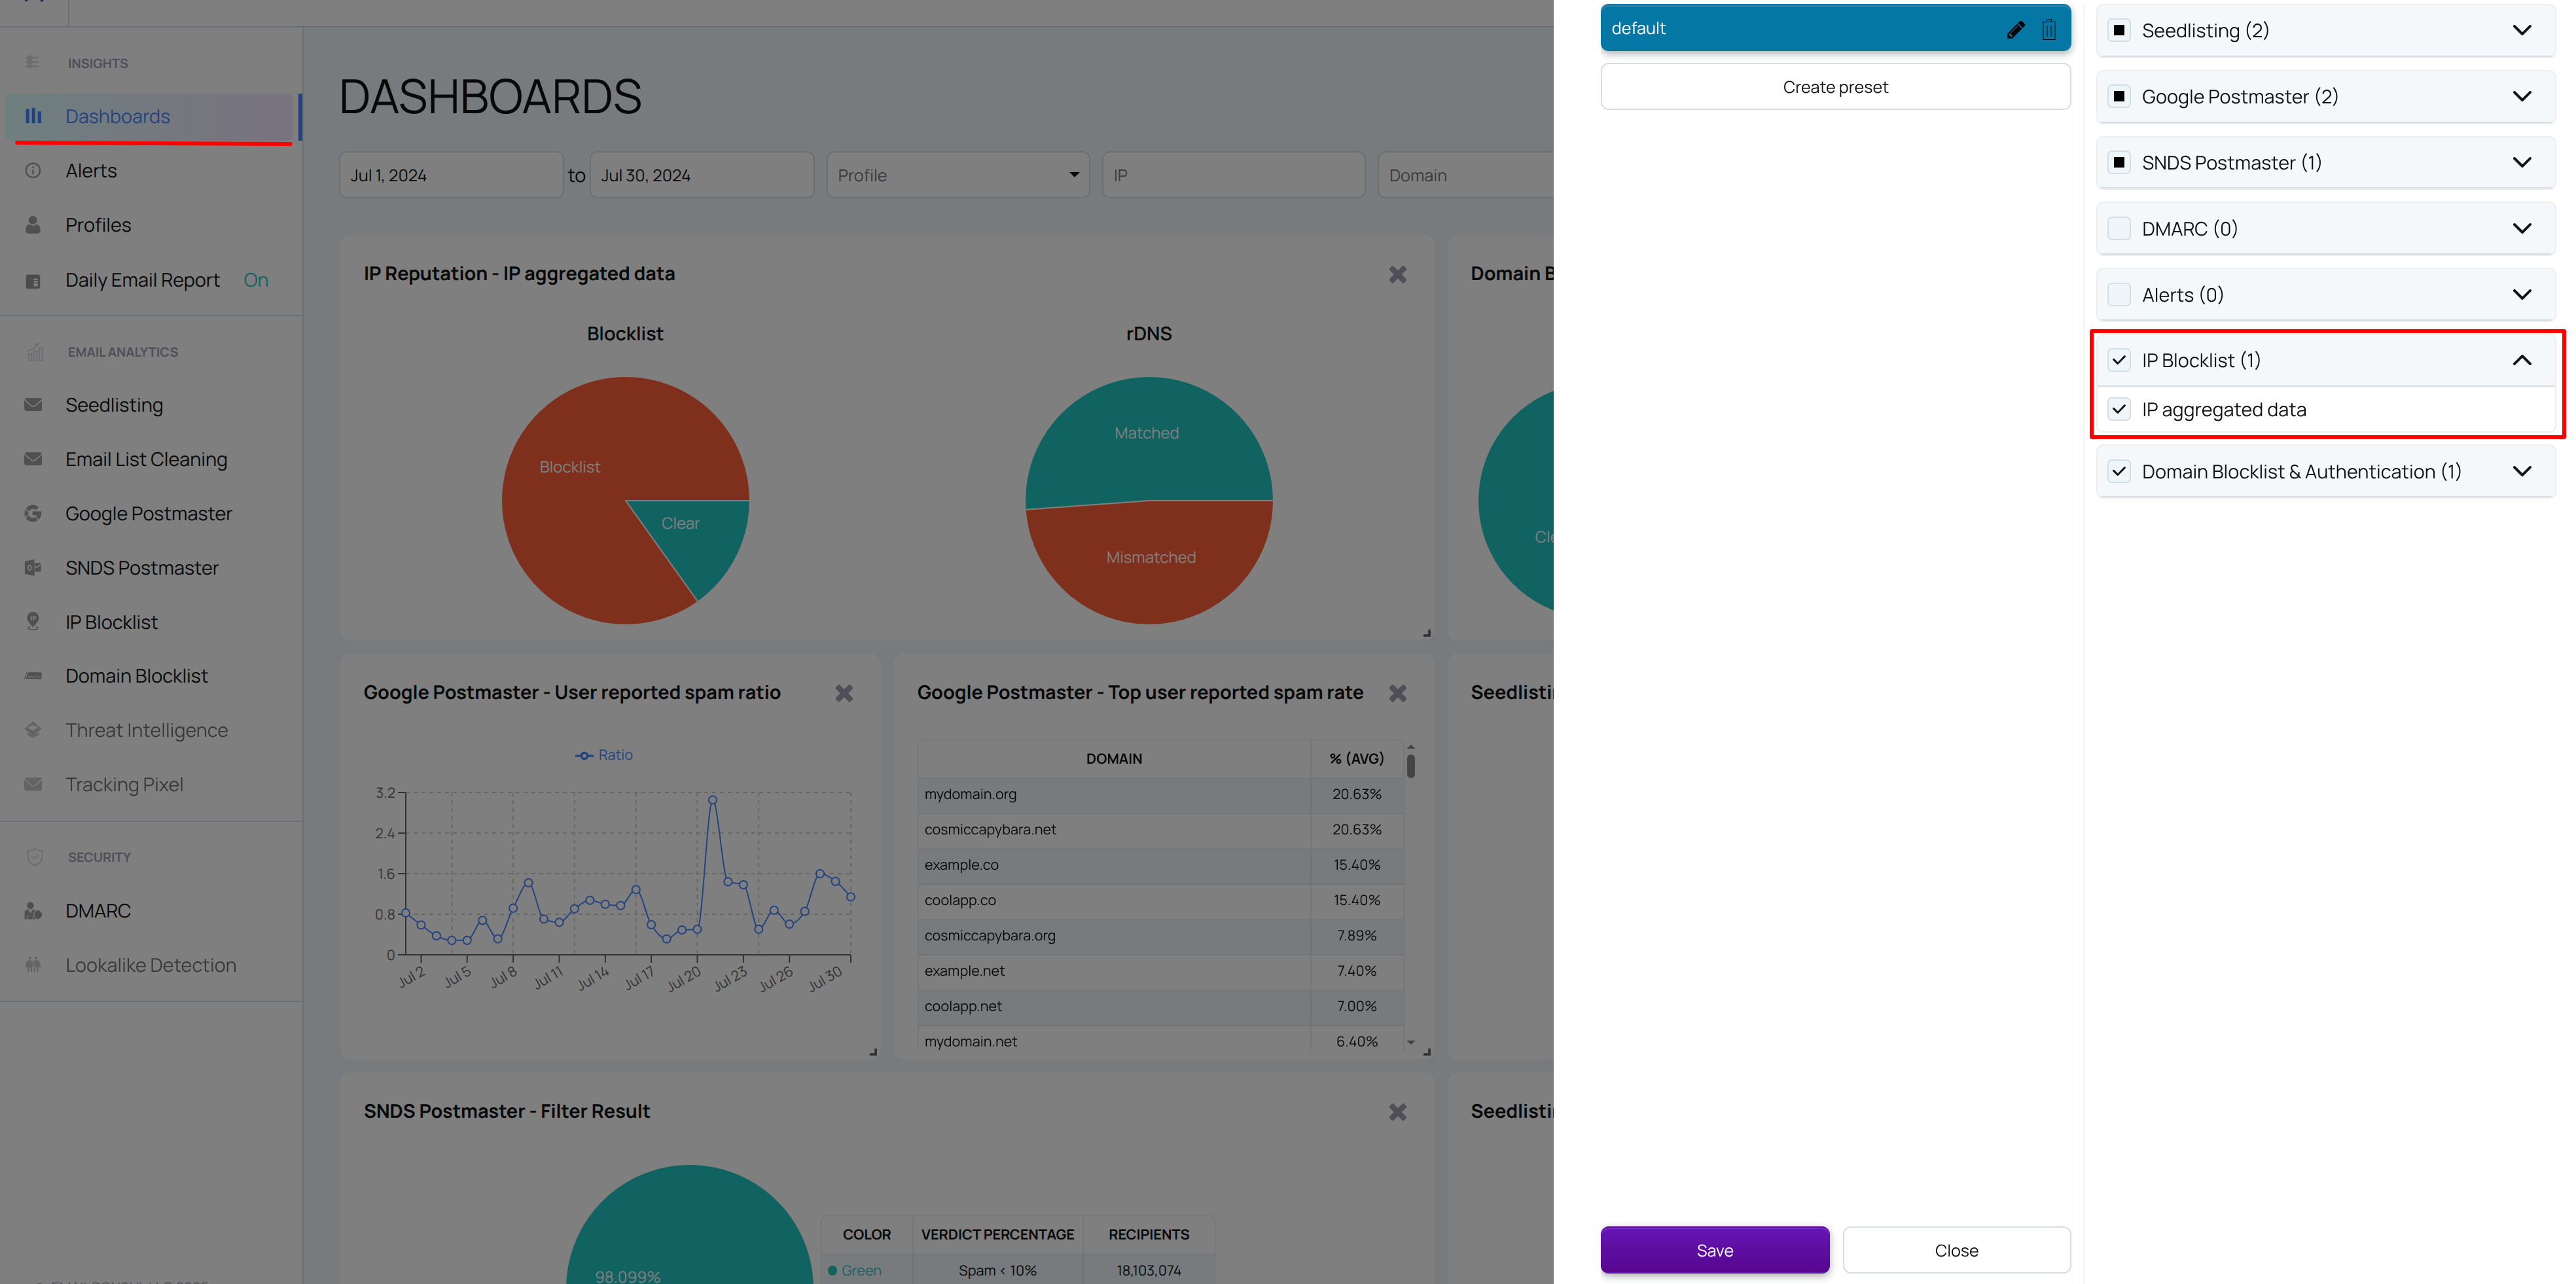
Add IP Reputation Monitoring dashboards to the common Dashboards to have more insights on your deliverability across all EmailConsul tools
Create and monitor IP Reputation Monitoring alerts to stay informed about potential issues. For more details, refer to the 'Alerts'.
