Profiles
Profiles allow you to create specific identities linked to certain IPs, domains, blocklists, seedlisting or alerts. Once a Profile is created, it can be used as a filter to gather relevant to the profile information across all EmailConsul tools.
Creating a Profile
Navigate to Create profile

Add name to Profile
Add IPs, domains, IP blocklists, or domain blocklists. (See the best practise to use profiles below)

Note: To import IP’s or domains in csv, the csv file must include column ip or domain respectively.
Click “Create” button
How to use profiles
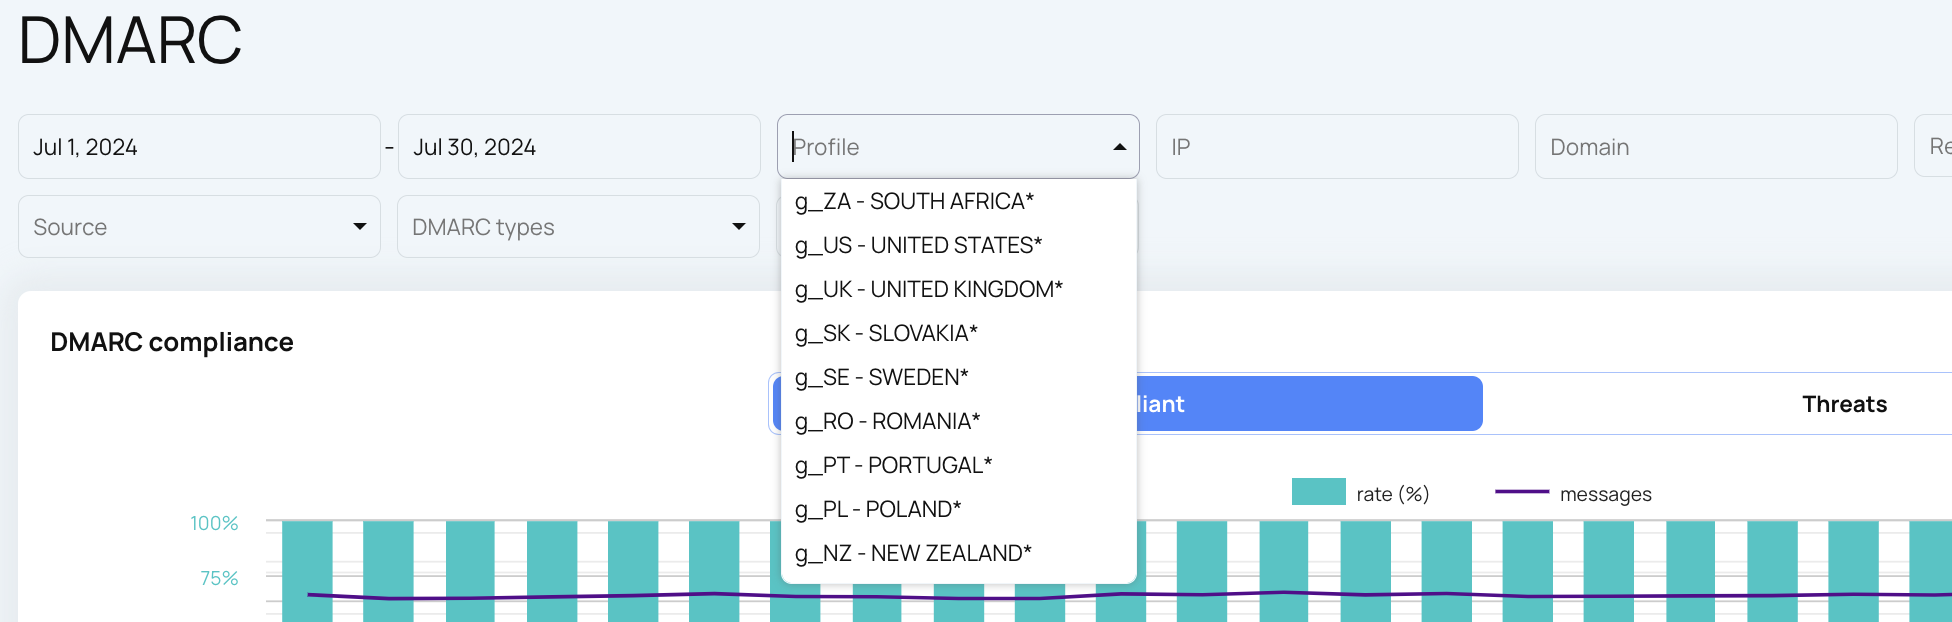
Use a profile as a filter to filter out information relevant to the data from profile (for example filter out the specific IP’s or domains across all EmailConsul tools).
Use Profiles with Teammates to grant granular access to teammates. See Teammates for more info
The best practices to use profiles
A profile is just a filter that you can use to separate data within one account. When you create a profile, think of it as:
I want to see the data from specific IPs (add only IPs), or
I want to see the data from specific domains (add only domains), or
I want to see the data from specific IPs or domains (add both IPs and domains), or
I want to see the data from specific blocklists (add only blocklists for IPs and domains).
I want to filter out specific seed listing tests (attach the profile when setting up a seed listing test).
I want to filter out specific alerts (attach the profile when setting up an alert).
Usually, there is no need to add blocklists along with other data in a profile.
If you want to use a profile to separate data for your teammate (subuser), then attach only IPs, domains, seed listing, and alerts.