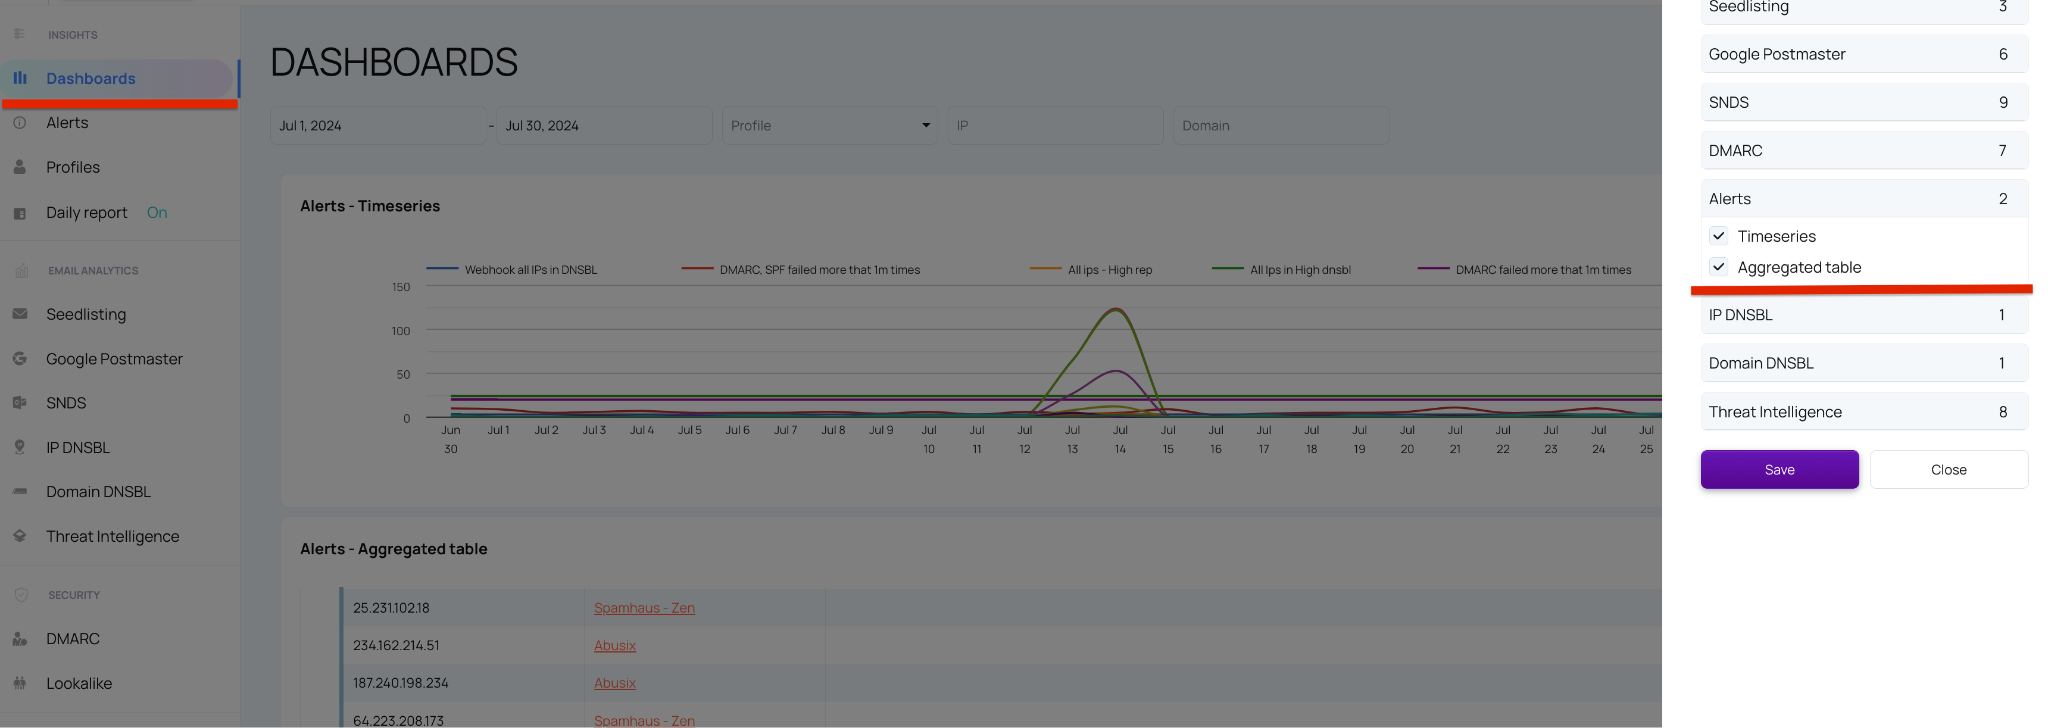
Alerts
The Alerts tool allows you to create notifications via email, the user interface (UI), or webhooks. Alerts can be set up for any of our tools, such as a DMARC alert for emails failing SPF checks, or a Google Postmaster alert for a spike in spam ratio, among others.
How to Create an Alert
Go to Settings → Create alert

(Optionally) Attach to profile. See more in Profiles
Choose a name for the alert.

Select the specific rule type for the alert.

Follow the instructions to configure the settings related to the rule type.
NOTE: Each rule type has unique settings that differ from others.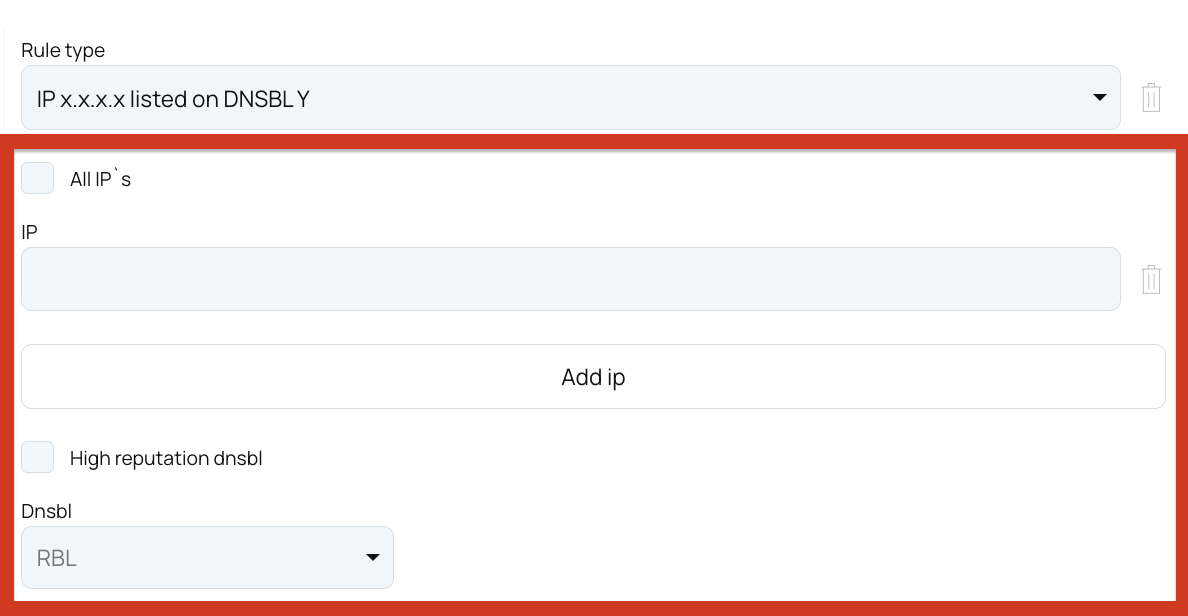
Choose how you would like to be notified when an alert is triggered:
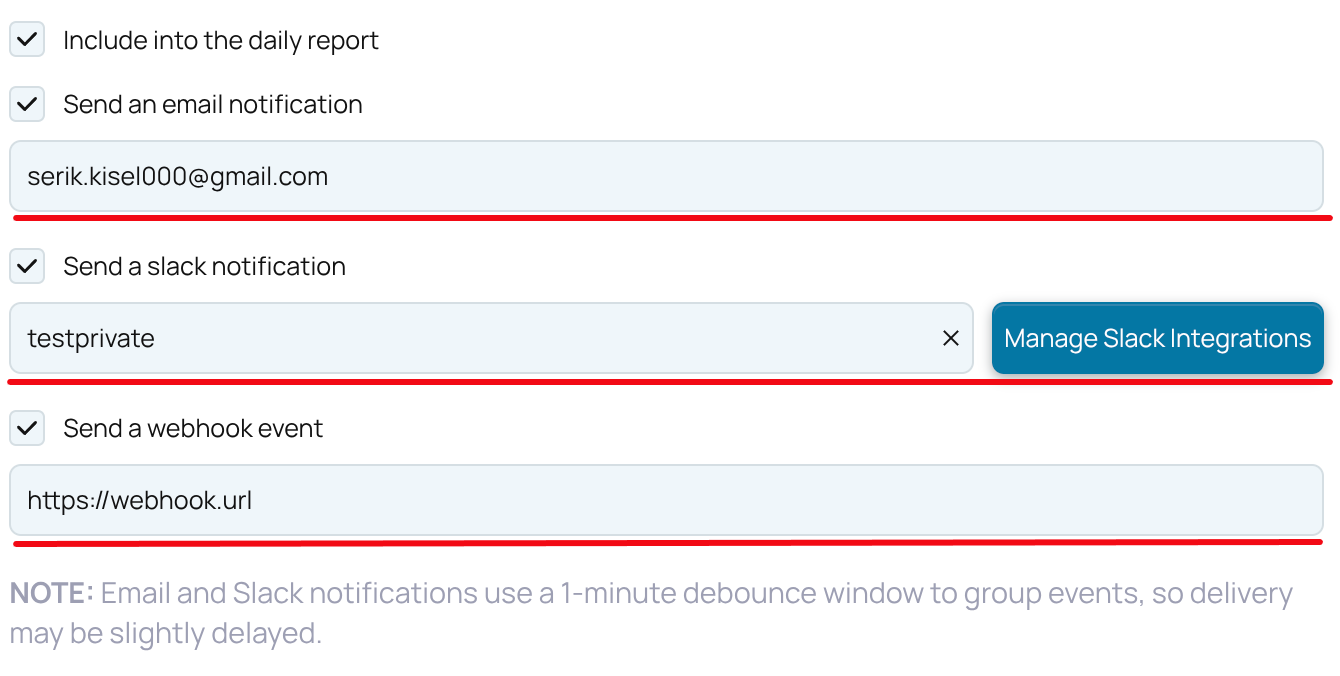
Include in the daily report: If selected, a Daily email report will include all logs related to this alert from the last 24 hours.
Send an instant email: If selected, an instant email notification will be sent to the specified email.
Send a slack notification: If selected, a slack notification will be sent to the specified slack channel.
Send a webhook event: Use this option to trigger an instant webhook event for continuous integration with other systems. This option is always available, even without API integration with EmailConsul.
You can update the alert settings or the alert's rule settings at any time, but once an alert is created, the rule type cannot be changed.
How to Configure slack integration
Go to Settings → Slack Integration

Start a new slack connection.
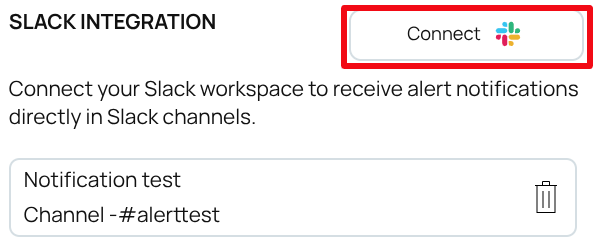
Select the slack workspace and the notification channel.
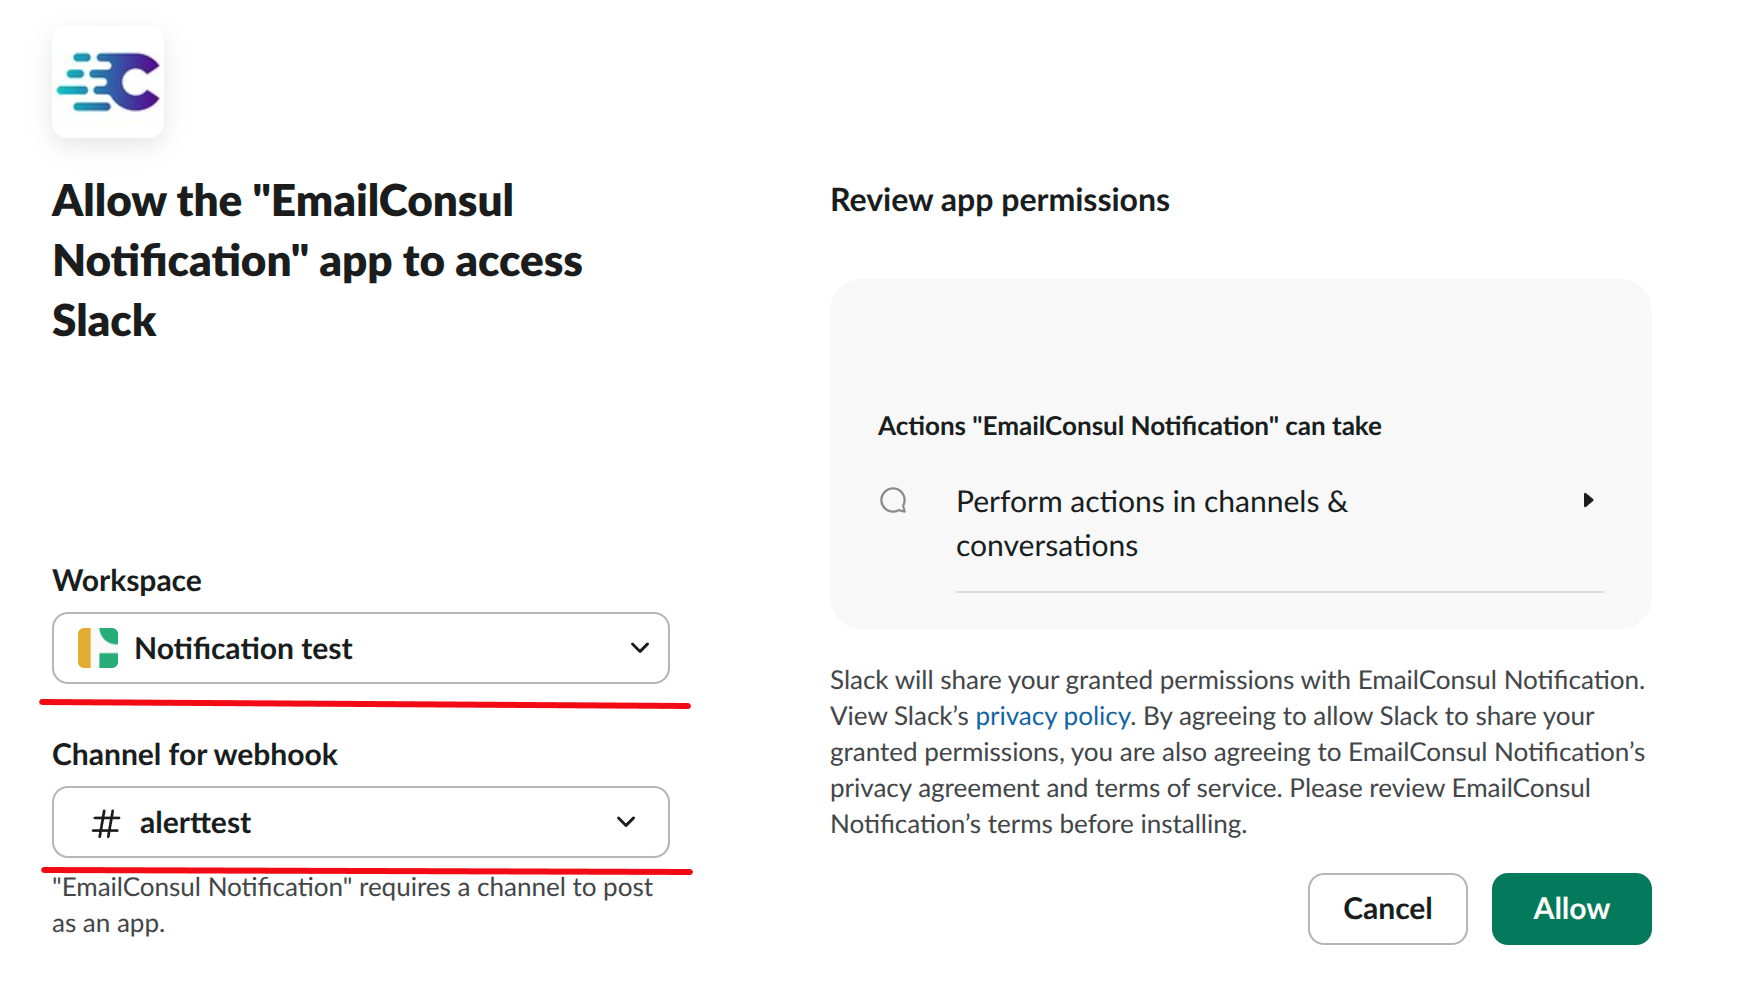
Attach the Slack notification to your alert.
Viewing and monitoring results
View aggregated data on the Alerts dashboards or access more detailed data in the Alerts tab.
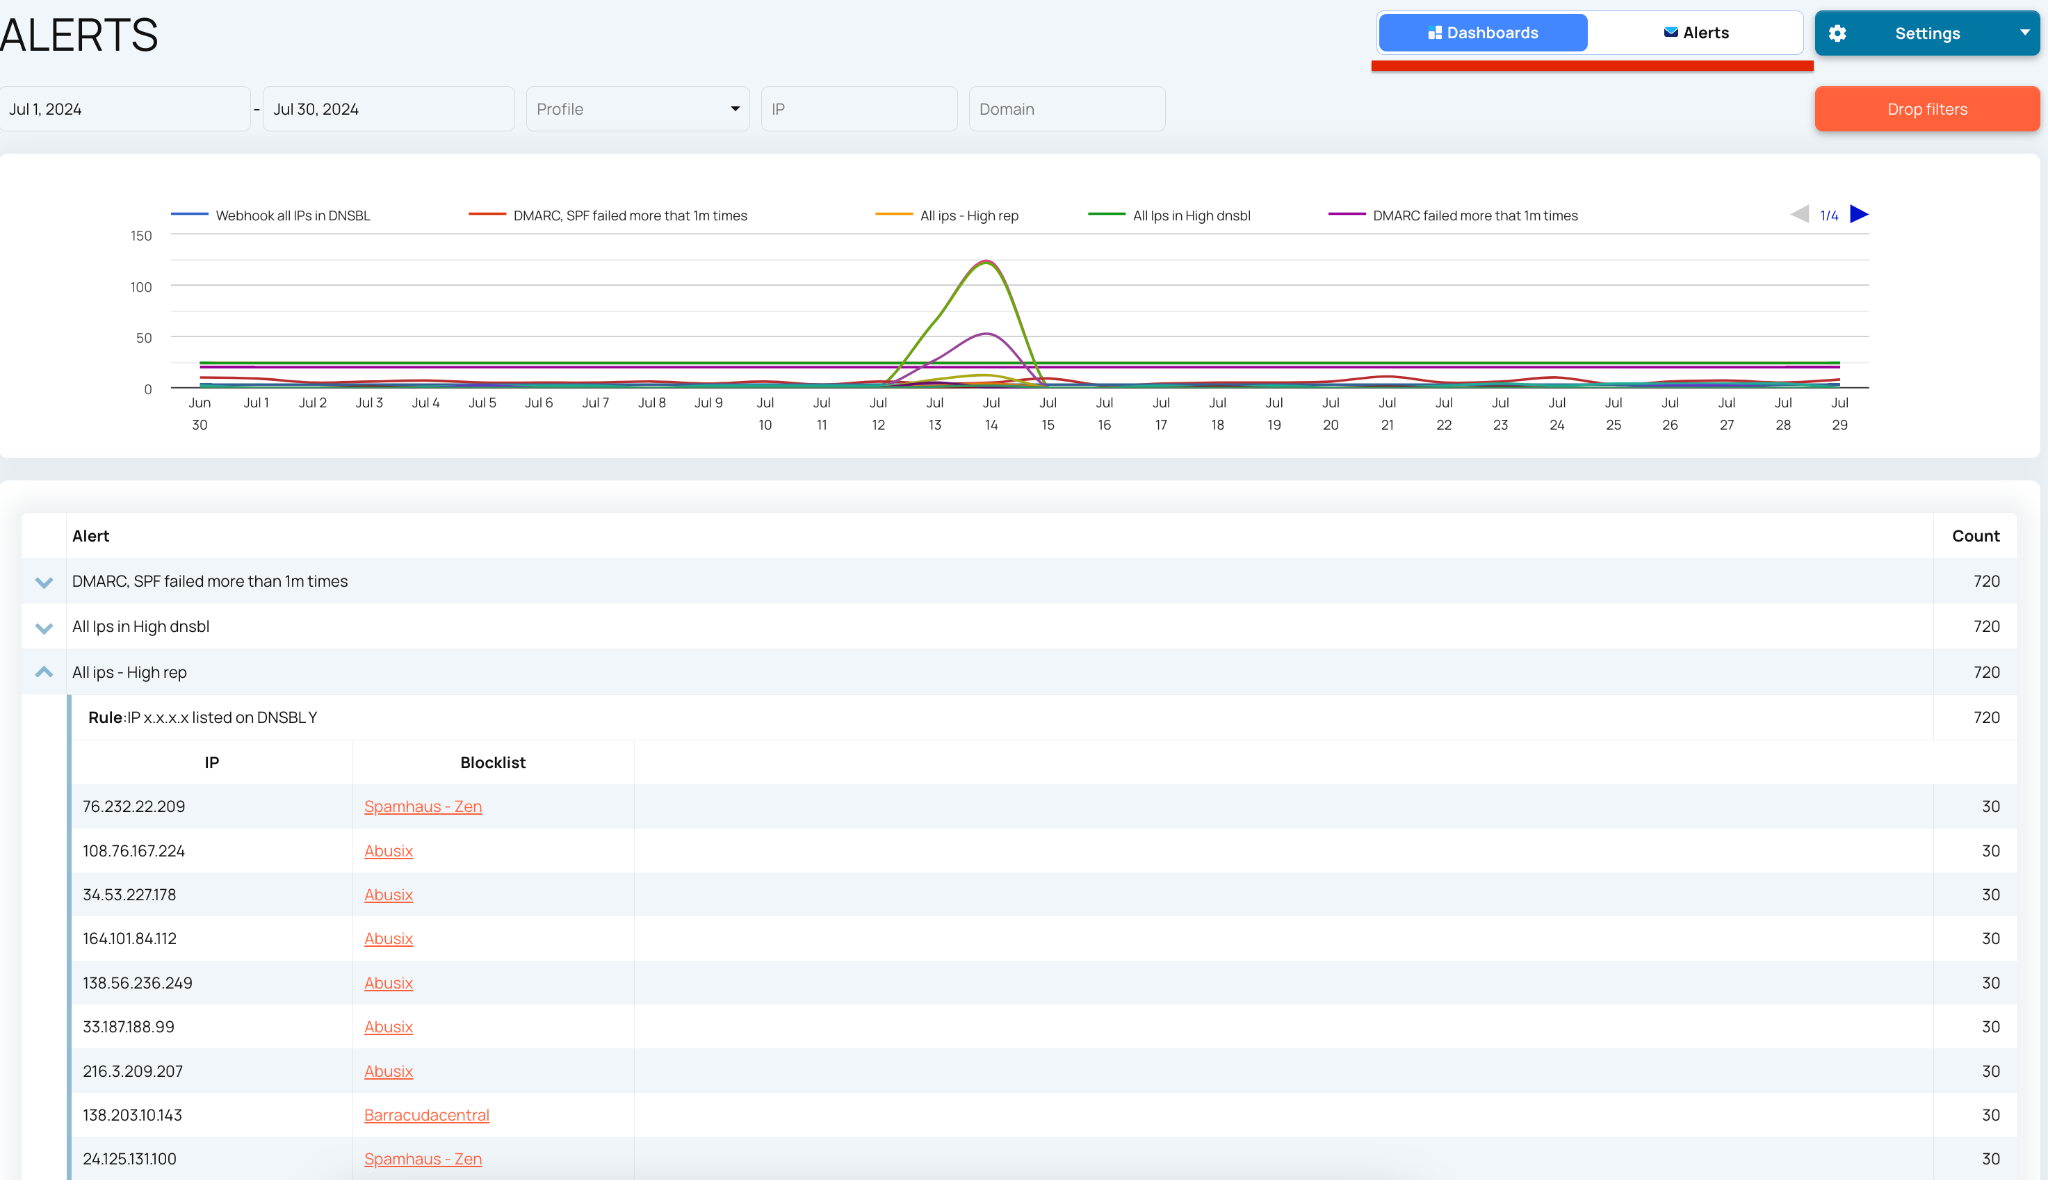
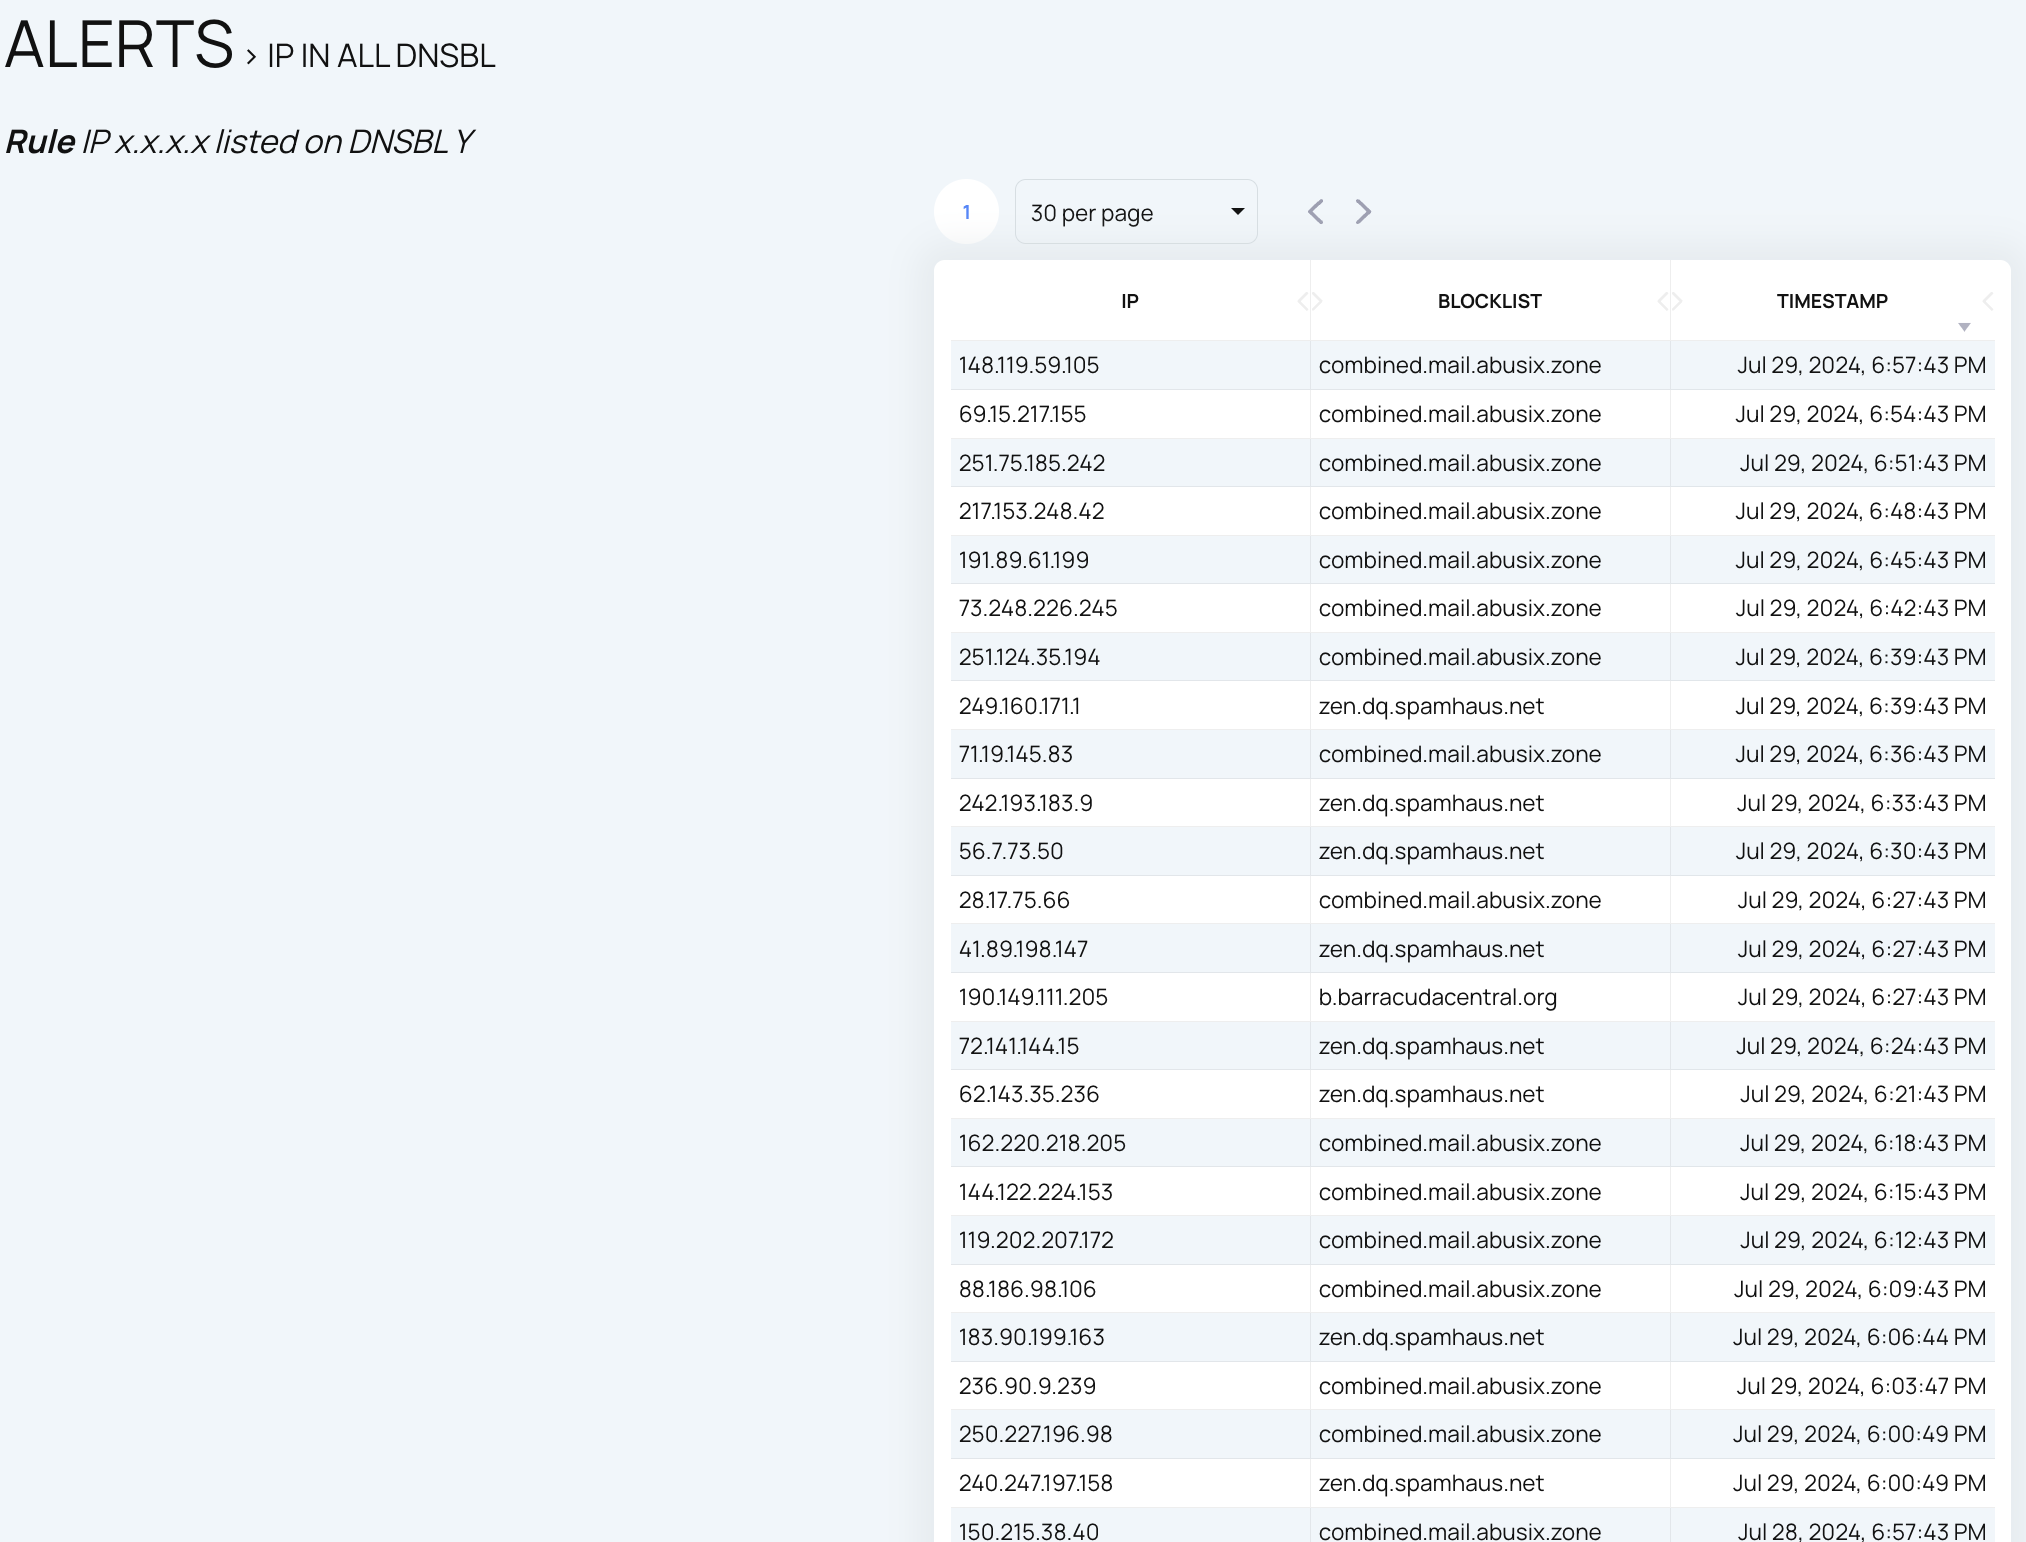
To view detailed logs for an Alert, navigate to the Alerts tab and click on any row in the table.

Add Alerts dashboards to the main Dashboard for deeper insights into your email deliverability across all EmailConsul tools.
